


Step-by-Step Engine Timing Tool Kit Setup for Modern Engines
Maintaining correct timing in a modern internal combustion engine is critical for performance, emissions, and component longevity. When replacing timing belts or chains, or when servicing major engine components, using an engine timing tool kit helps lock critical parts in place and prevents costly mistakes. In this blog, we'll walk through a clear step-by-step setup procedure that mirrors professional workshop practice.
🔧 Preparation and Workspace Safety
Before working on any timing system, prepare your workspace and ensure safety. Park the vehicle on a level surface, cool the engine, and disconnect the battery to prevent accidental start-ups during service.
Gather Tools and Manuals
Collect the appropriate timing tool kit, which typically includes:
- Crankshaft locking tools
- Camshaft alignment plates
- Tensioner locking devices
- Flywheel and injection pump locking pins

Check the vehicle's service manual for tool compatibility and torque specifications.
Step 1 - Finding Top Dead Center (TDC)
Setting the engine to Top Dead Center (TDC) for cylinder #1 is the foundational step of any timing job. Modern engines use timing marks on the crankshaft pulley, balancer, or flywheel to identify this position thermodynamically. Rotate the crankshaft by hand using an appropriate socket and ratchet until the timing mark aligns with the TDC pointer on the engine block.

Step 2 - Install Crankshaft Lock Tool
Once the engine is at TDC, install the crankshaft locking pin or bolt to prevent unwanted rotation. On many modern engines, this tool fits into a specific hole in the crankshaft gear or flywheel housing.
Confirm Secure Fit
Make sure the locking tool engages fully and that you cannot rotate the crankshaft without removing it.
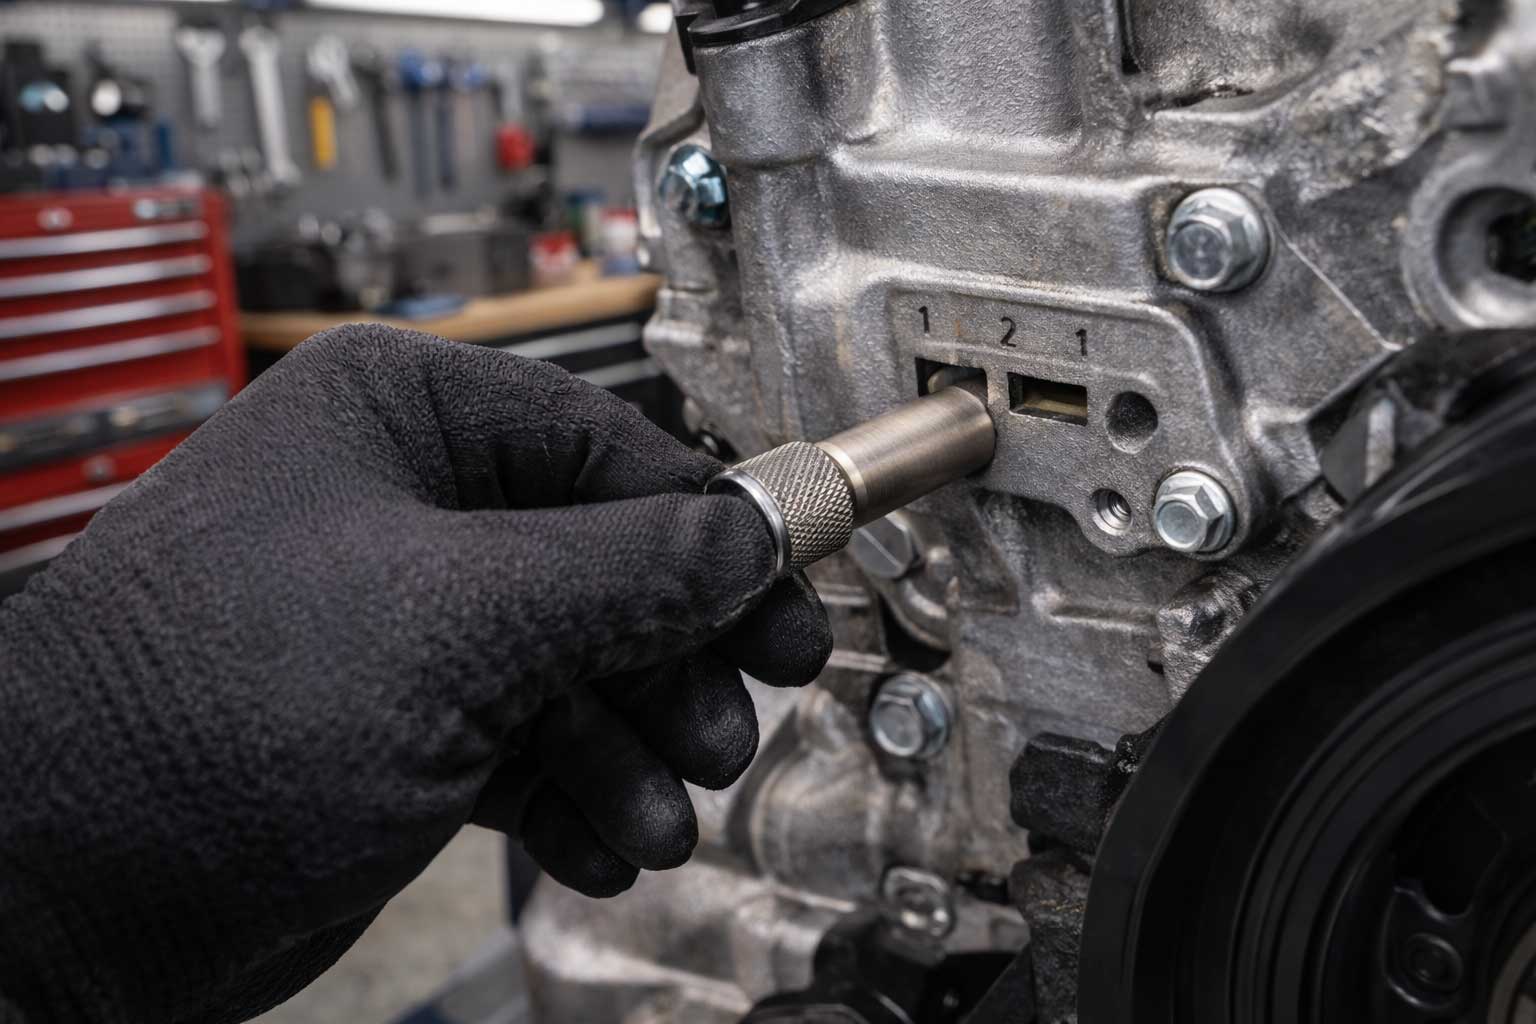
This mechanical lock ensures your reference point stays accurate throughout the repair.
Step 3 - Camshaft Alignment
With the crankshaft locked, remove valve covers and locate the camshaft timing marks. Rotate each camshaft until their alignment notches match the corresponding marks on the cylinder head.
Install Camshaft Locking Tools
Use camshaft plates or pins to hold them in position. This is especially important on multi-cam engines where dual cams must be coordinated precisely.

Proper cam lock installation prevents unintentional rotation when tensioners are released.
Step 4 - Tensioner and Belt or Chain Removal
With crank and cam locked, release the timing belt or chain tensioner using the appropriate tensioner tool. Loosen it slowly and ensure tension is maintained to avoid sudden slack.
Remove Belt/Chain Carefully
Once the tension is off, remove the old timing belt or chain, avoiding movement of locked components.

Keeping the locked tools in place ensures that the next installation steps use consistent reference points.
Step 5 - Install New Timing Components
Position the new timing belt or chain around the sprockets, matching all alignment marks carefully.
Adjust Belt Tension Correctly
Re-apply tension via the tensioner and double-check that all timing marks still align. On some engines, this requires rotational checks or specialized tension gauge tools.

Do not remove the locking tools during this process.
Step 6 - Verification and Final Assembly
Before final reassembly, manually rotate the crankshaft two full revolutions by hand to verify that:
- Timing marks return to position
- No binding or interference occurs
Once confirmed, remove all locking tools, re-fit engine covers, and reconnect the battery.
Post-Service Testing
Start the engine and let it idle. Listen for irregular noises or vibrations that could indicate misalignment.
Modern engines with advanced valve timing require accurate static timing during service to avoid valve-to-piston contact, especially in interference engines. Always follow OEM instructions for final torque specs and checks on variable cam systems.
Key Professional Tips
- Always read the vehicle's service manual before beginning.
- Use OEM or high-quality timing tools for best fit and repeatable results.
- Never use excessive force; tools should engage smoothly.
- Verify tool removal before starting the engine.
Properly setting up engine timing tools ensures reliable engine operation, preserves performance, and prevents costly internal damage due to improper timing. Following a systematic procedure - from TDC setting through tensioner handling and verification - aligns with professional workshop standards and enhances repair quality.


